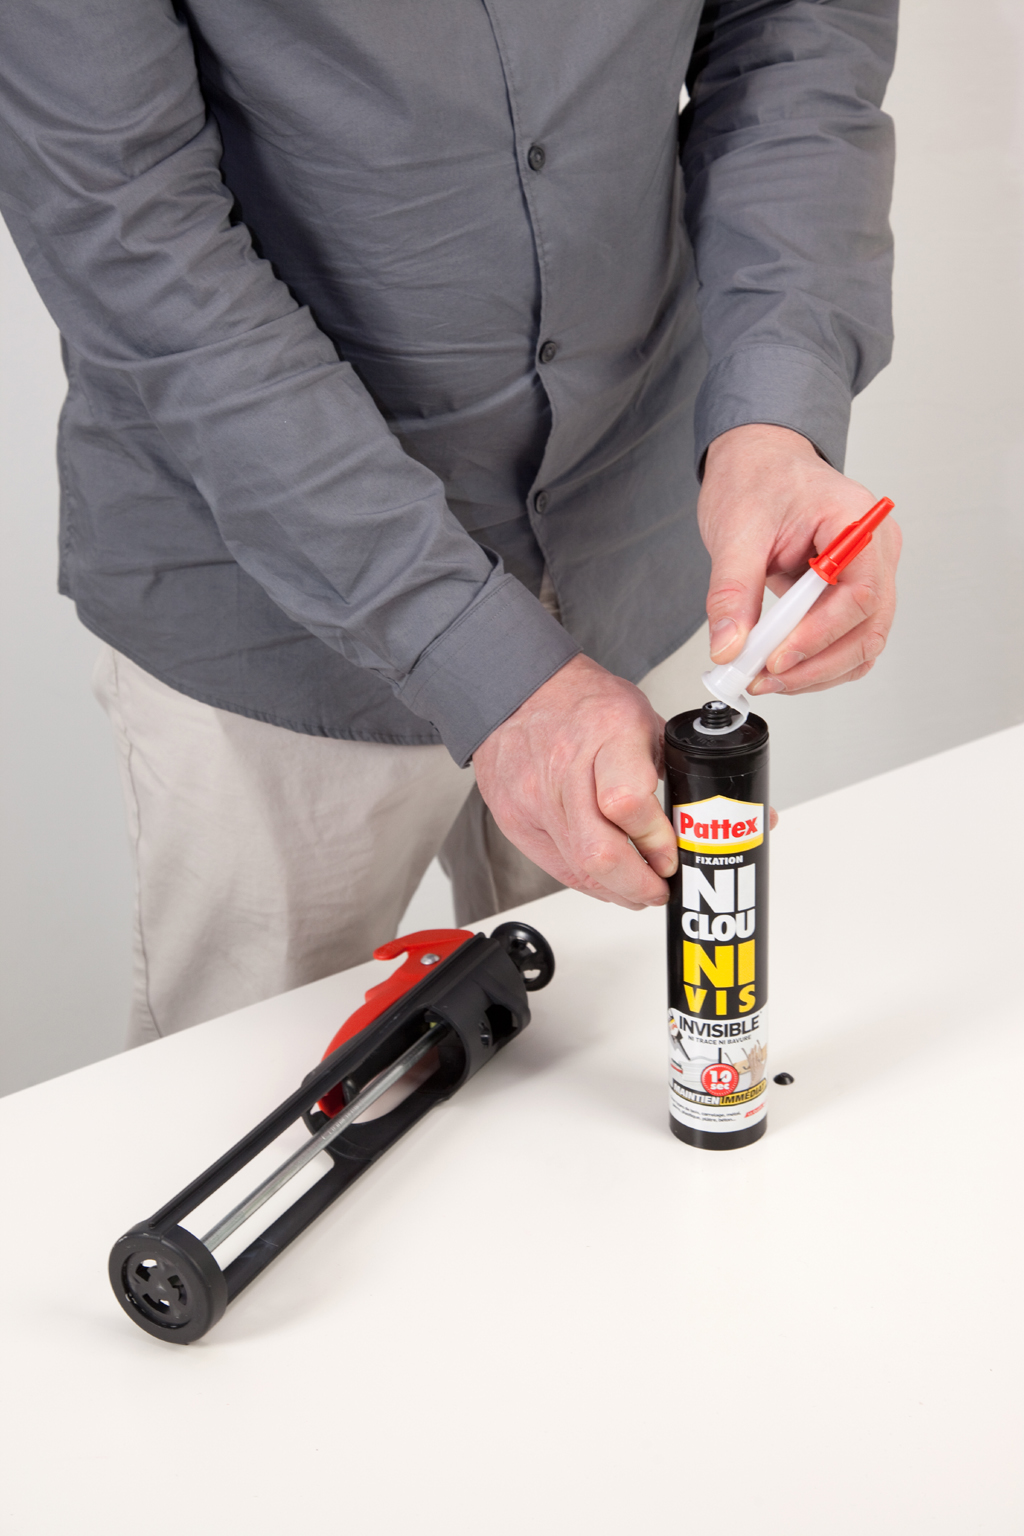
Installer une station météo DIY Family
LineaMeteoStazione is a complete weather station that can be interfaced with professional sensors from Sensirion as well as some Davis Instrument components (Rain Gauge, Anemometer) The project is aimed at a DIY weather station but just requires the assembly part because the boards will already be given programmed by me as well as the complete PCB.

DIY customiser une lightbox en station météo Merci pour le chocolat ! Station météo, Boite
This Weather Station is a compact weather station that consists of several meteorological sensors that measure the following parameters: 1. Internal Temperature (BME280) 2. Humidity (BME280) 3. Barometric Pressure (BME280) 4. External Temperature (DS18B20) 5. Wind Speed ( Sparkfun Weather Meter ) 6.
Station Météo Stations Météo Phosphorescence
On the app, or on the web page, we can see real-time data from the weather station and graphs, for example of the temperature, with minimum and maximum of every day, and the pressure graph, which we can use to make a rough weather forecast. If this sounds difficult, don't worry, in this guide you can find all the informations.
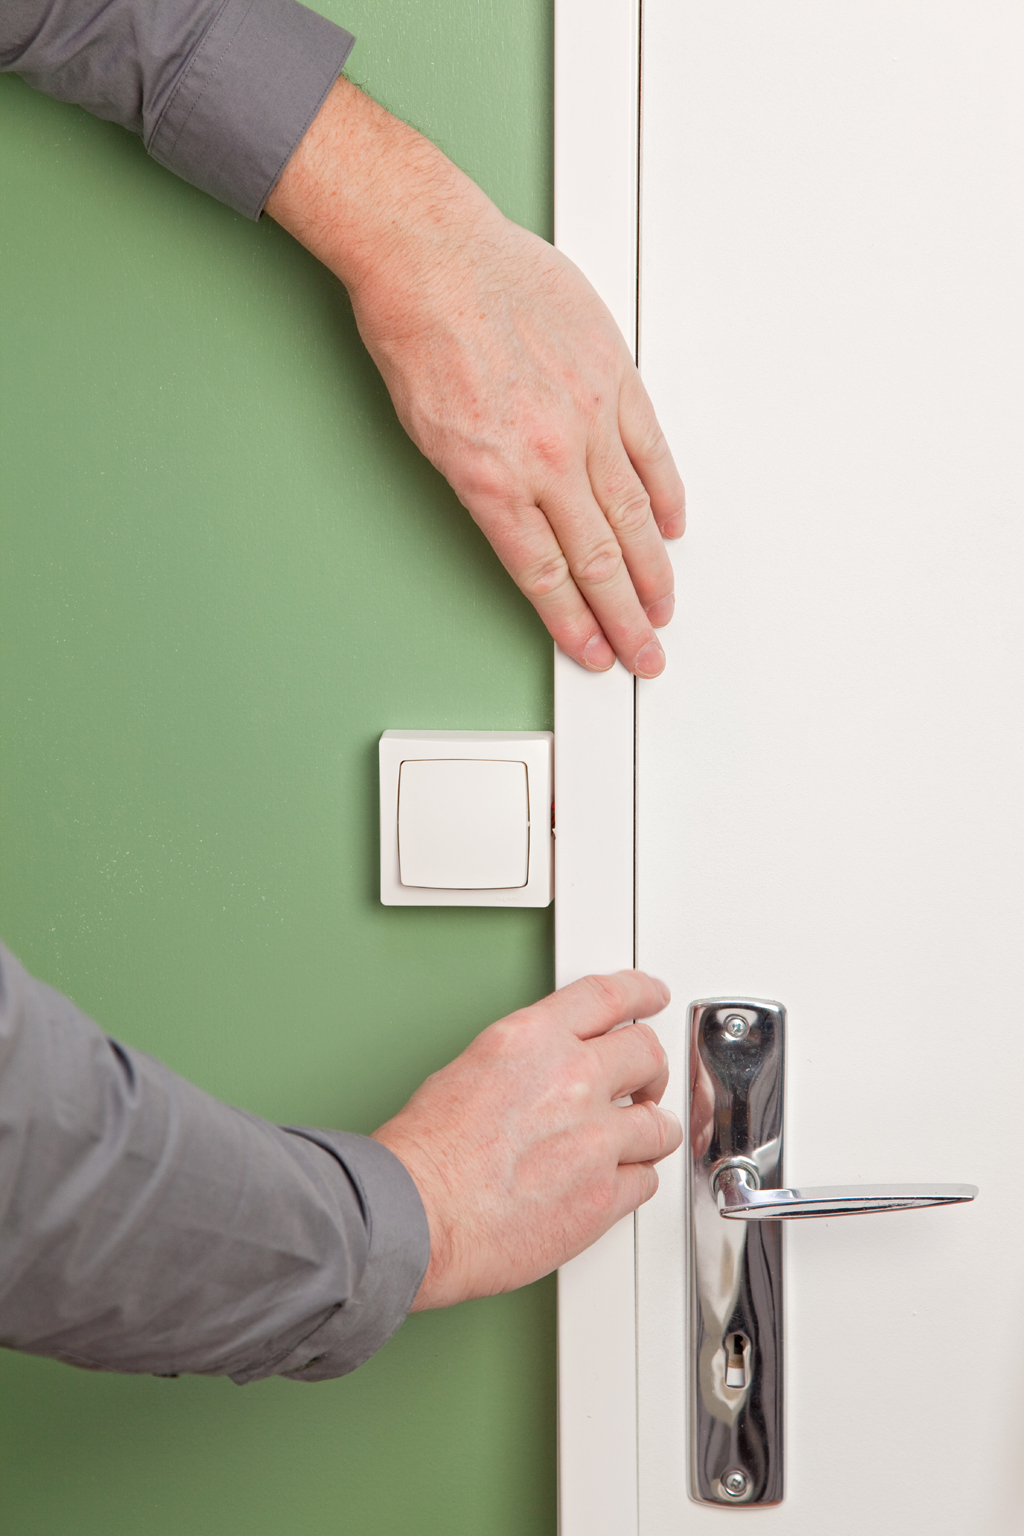
Installer une station météo DIY Family
Step 1: Things You Need Step 2: Hardware Part Step 3: Anemometer & Wind Vane Step 4: Electronics Step 5: Aesthetics Making a weather station can be very easy and simple as well as interesting. Just you need to collect some simple materials which are available in online or offline stores.

Easy IoT Weather Station With Multiple Sensors 8 Steps (with Pictures) Instructables
Hey everyone! This time we make a very useful little weather station to monitor temperature, humidity, air pressure, and to get notified when it starts raini.

Station météo connectée surveillez votre habitat sur votre smartphone
38 réflexions au sujet de « Station météo simple à base d'Arduino et de Raspberry Pi » Clemzo 22 mars 2019 à 8 h 36 min. Bonjour, Je suis surpris de voir régulièrement des montages combinant Arduino ET ESP8266. A moins qu'il y ai des besoins particuliers (nombre d'E/S), il faut savoir que l'ESP est quand même bien plus performant que l'Arduino.
Station météo à commander en ligne Maison & Confort
Build a cloud weather station dashboard to visualize your ESP32 or ESP8266 sensor readings from anywhere in the world. You'll visualize your sensor data displayed on gauges and on a table. The ESP32 or ESP8266 will make an HTTP POST request to a PHP script to insert your data into a MySQL database. Updated on 27 March 2023.

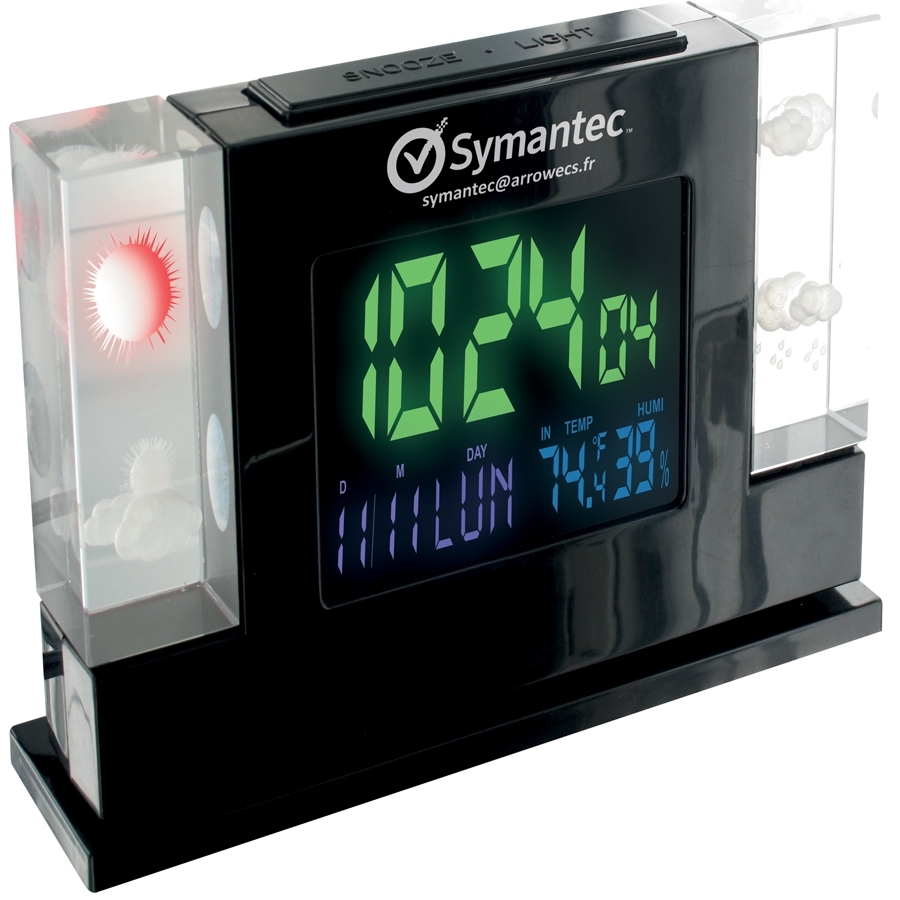
Le réveil multifonctions station météo YouTube
Cut holes for the LCD Screen and the DHT11 sensor carefully using a paper knife. If you are using a battery to power the Arduino, make sure there's space for that. If you're going to use an adapter, cut a hole for the wire as well. Place the Arduino circuit inside the Box and make sure nothing obstructs the display and DHT11 sensor.
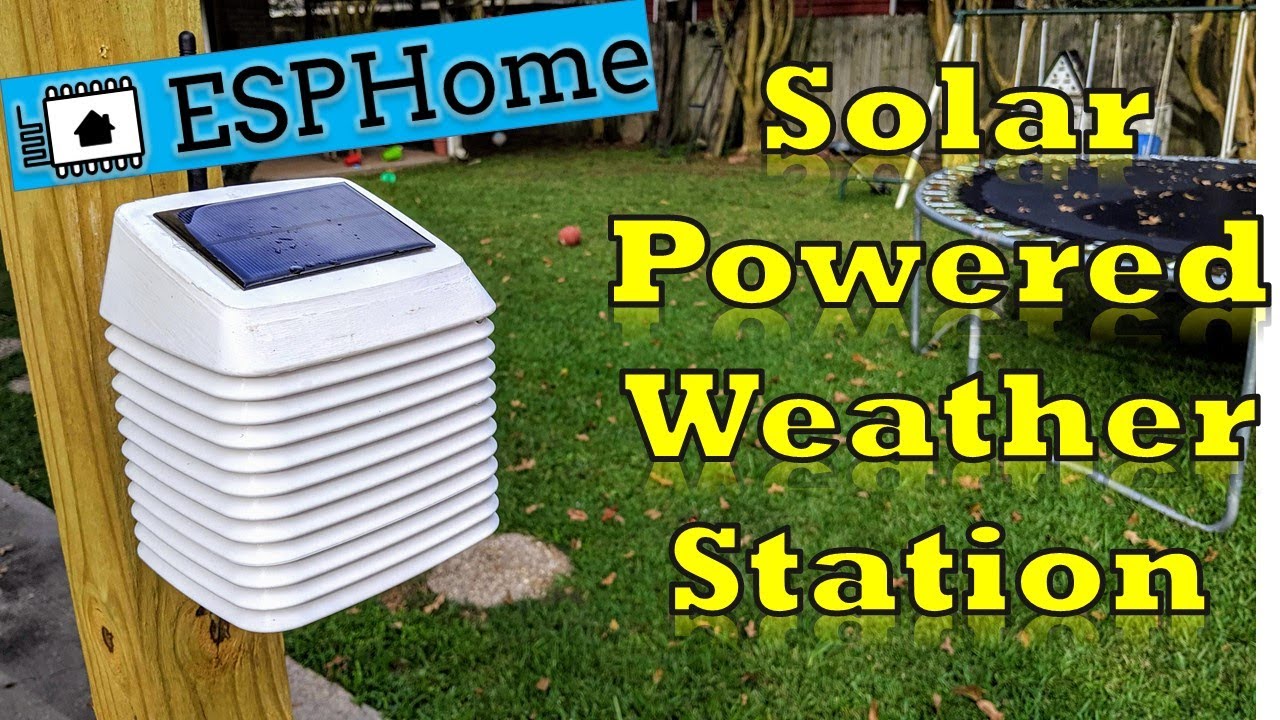
DIY WiFi Solar Powered Weather Station with ESPHome YouTube
2 Download By JFJAVENUE Follow More by the author: Introduction This durable arduino weather station kit includes an anemometer, wind vane, rain bucket and DH11 temperature and humidity sensor. It can transmit data via serial or RF interfaces.

PiMeteo Station météo DIY à Montpellier Station météo, Diy, Meteo
In this project I'll show you how you can build an all-in-one ESP32 weather station shield and display the sensor readings on a web server. The web server displays data from all the sensors and automatically updates the readings every ten seconds, without the need to refresh the web page. Watch the Video Tutorial and Project Demo

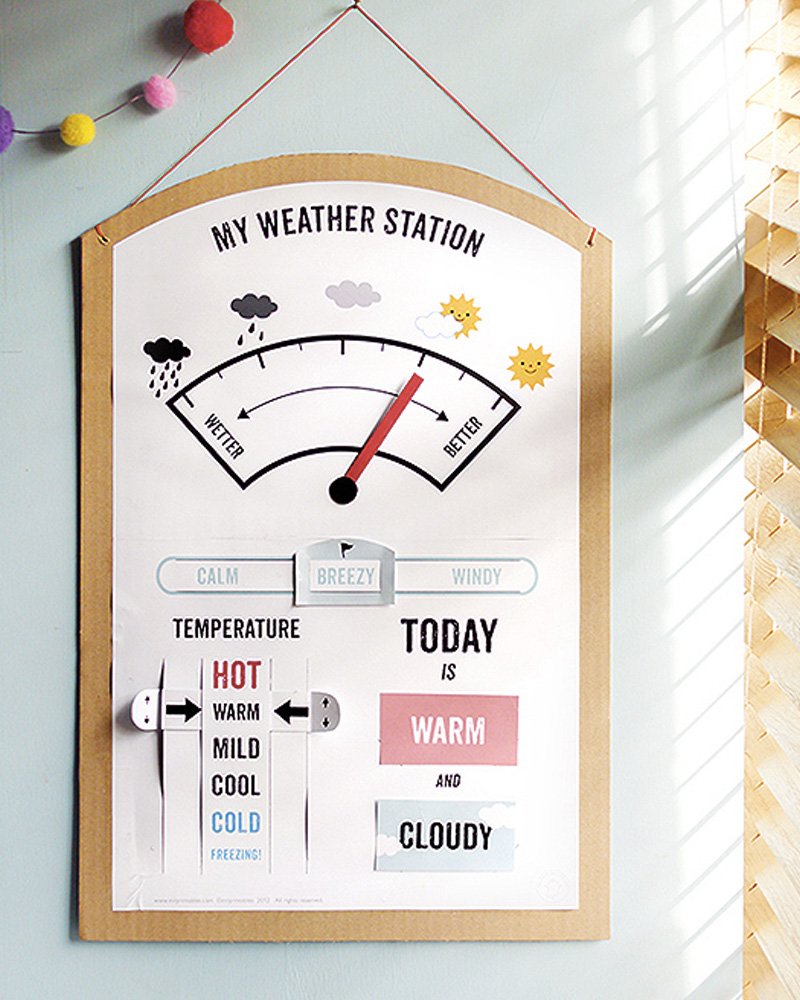
DIY Weather Station for Kids to Make Weather activities for kids, Weather crafts, Forest
This DIY weather station allows for precise monitoring of temperature, humidity, and wind speed using 3D printed components and an Arduino, with the potential for future expansion to include an atmospheric pressure sensor. Summarize any YouTube videoSummarize any video by yourself. 🌡️.

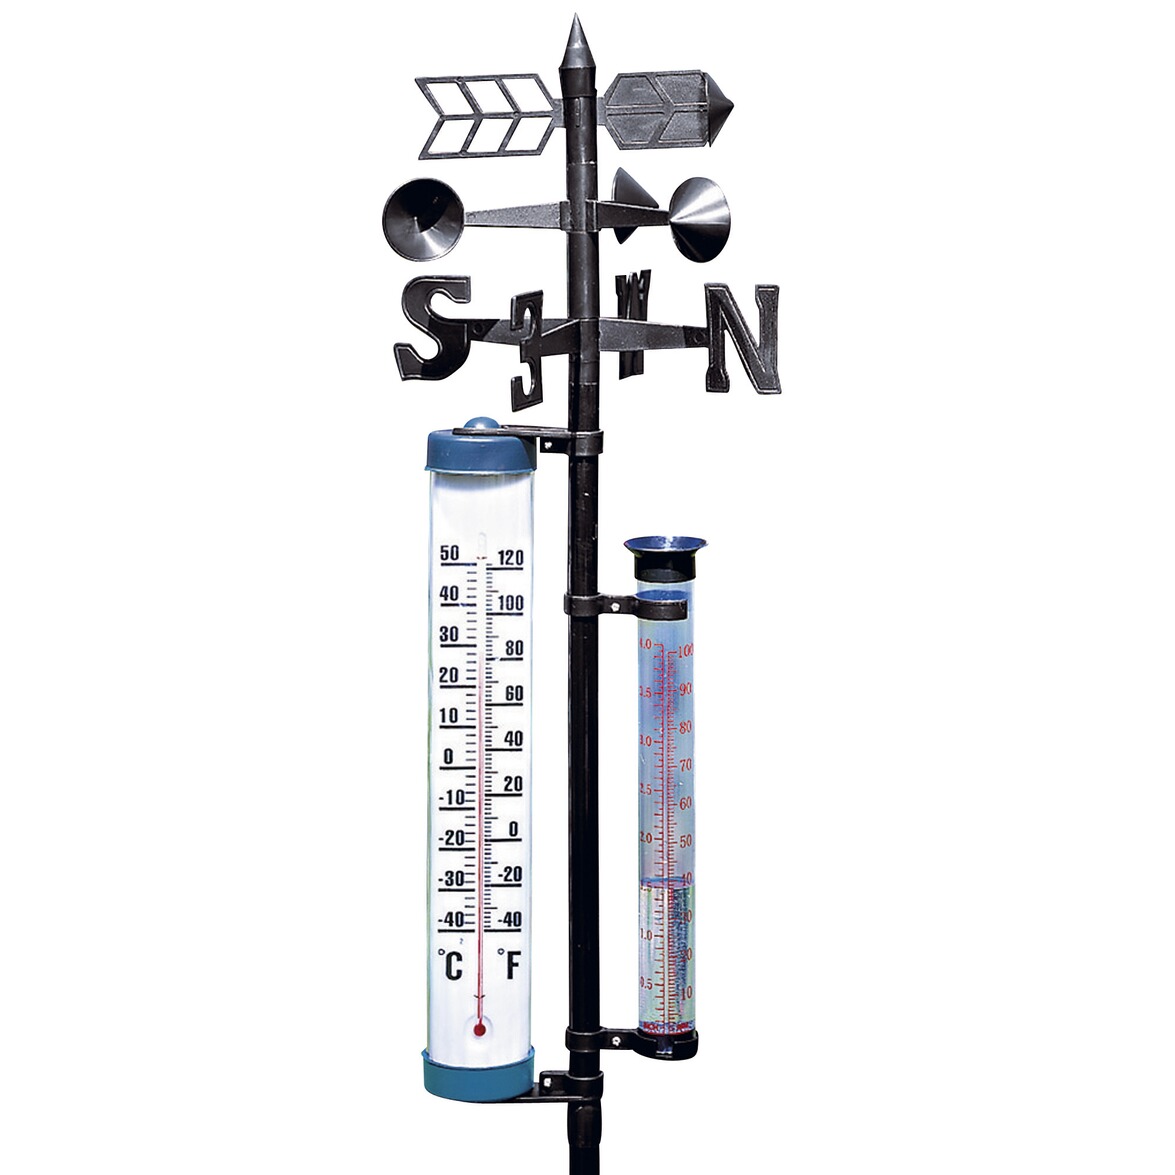
10 (Vrais) Meilleurs stations météo de 2020 FondationN
Personalized Professional Weather Station DIY, LineaMeteoStazione V2.0! Using EZSBC Boards ESP32, ESP8266, Attiny85 : 10 Steps (with Pictures) - Instructables Personalized Professional Weather Station DIY, LineaMeteoStazione V2.0! Using EZSBC Boards ESP32, ESP8266, Attiny85 By iaquinta.eugenio in Circuits Arduino 4,533 30 0 Featured
Installer une station météo DIY Family
python adafruit-io.py. This will automatically create a Weather dashboard in your Adafruit IO account and populate it with the sensor feeds. Now, you just need to design the web dashboard. 10. Design dashboard. In your Adafruit IO account, open up the weather dashboard. Click the cog icon and Create New Block.
Une station météo DIY Shake My Blog
Making the right hardware selection for your project depending on its functionalities. Understand the weather station workflow. Prepare the circuit diagram to connect all the chosen components. Produce your own PCB design. Solder the electronic parts to the PCB. Assemble all the project parts. Start the first test and validate the project.

Station météo cloud DIY avec ESP32 ou ESP8266
The Open Weather Station (OWS) is a do-it-yourself weather station solution that aims to be affordable, stable, easy to build and tested in the wild. Measure, monitor, store months of data and send it to your server as well as Wunderground, Thingspeak, Windguru or OpenWeatherMap via Wifi or GPRS/GSM/4G. It evolved from other approaches I have.
Installer une station météo DIY Family
Fun with meteorological experiments! Our guide suggests the use of many of the sensors from the Oracle Weather Station kit, so can build a station that's as close as possible to the original. As you know, the Raspberry Pi is incredibly versatile, and we've made it easy to hack the design in case you want to use different sensors.